Growing Micro-greens with cheesecloth
Micro-greens are fast and fun to grow. Whether you are growing these for their nutritional value or just as a project with kids, it will be a great experience. I have been gardening to some extend for most of my life. I have tried soil gardening as well as hydroponics. A few months ago I decide to try micro-greens as the nutritional value and short growing time are very attractive. I tried different growing mediums and have found cheesecloth to be the best. I will just jump right into the process.
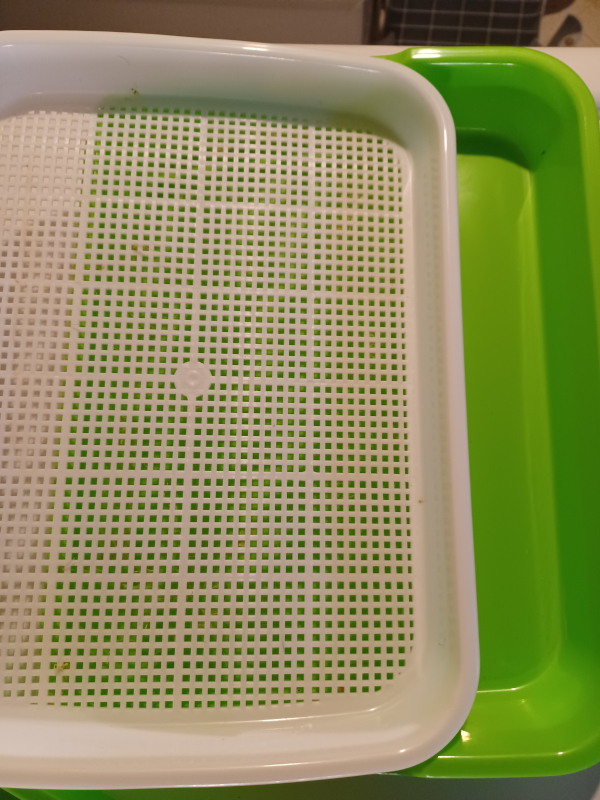

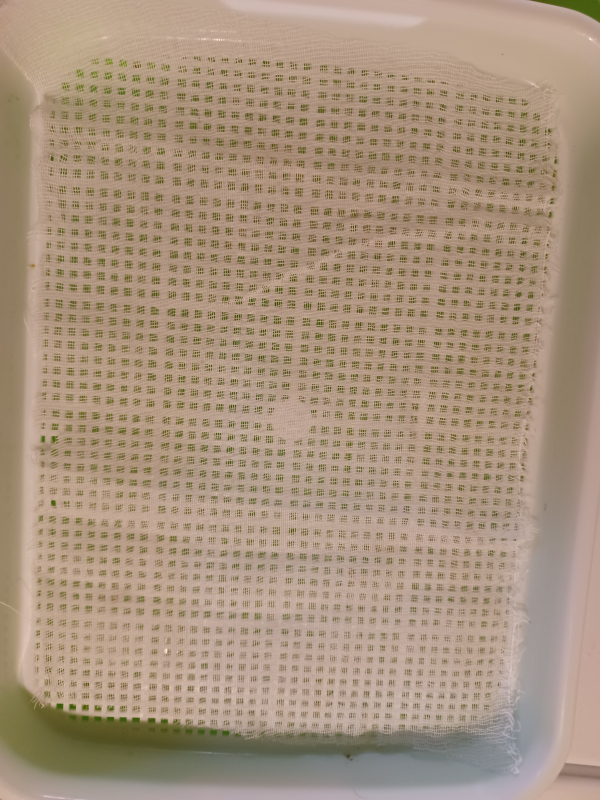
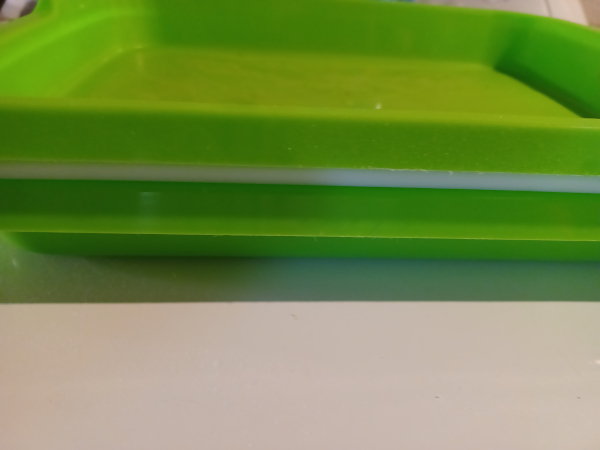
First you will need a single layer of cheesecloth to put on the Microgreen Tray (images above). This layer of cheesecloth is necessary to make sure smaller seeds do not fall though the holes of the tray and it helps to hold some of the water for the seeds to absorb. You want cheesecloth with very large holes. Do not buy grade 90 or similar cheesecloth as the roots will not have room to grow through. I bought my cheesecloth as the local grocery store. Next, use a spray bottle to wet the cheesecloth. This will help the cheesecloth not to move around and help the seeds to stick.

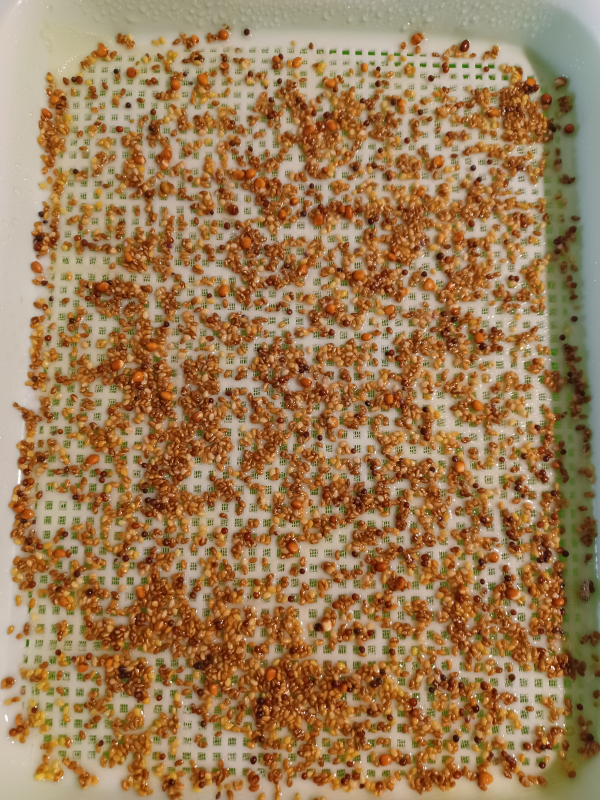
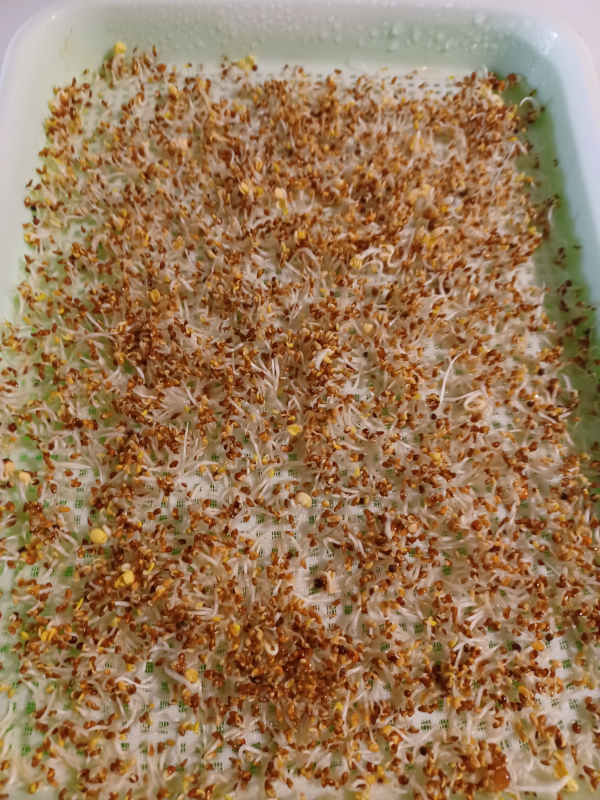
Next, spread the microgreen seed to the cheesecloth. In this case I am using a salad mix that includes Broccoli, Alfalfa, Radish and Clover. These have similar growing times and are all very nutritious. Then heavily spray the seeds with the spray bottle.
If you have another micro-green tray you can use this to cover the seeds while they germinate. If not, plastic wrap or something else that will seal in the moisture can be used. During the next 3-5 days you will need to spray the seeds with the water bottle at least twice a day but preferable three times a day. The wetter the seeds are the better chance for them to germinate. Do not worry about the weight of top tray, the plants growing with lift up the tray without doing damage. It is best to keep the tray in a dark warm (60-75 degree) area until there are small leaves and roots visible. The dark is to prevent mold and algae from growing as these are the primary cause of seeds not germinating.
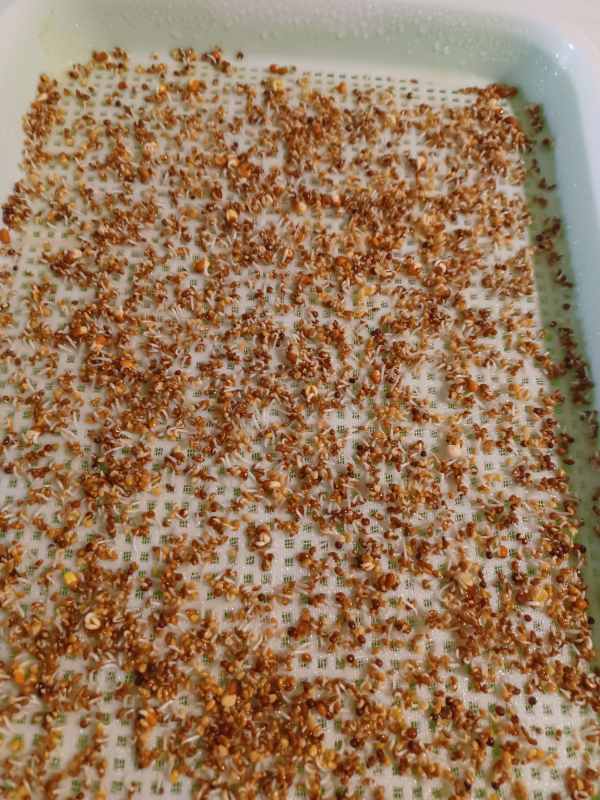
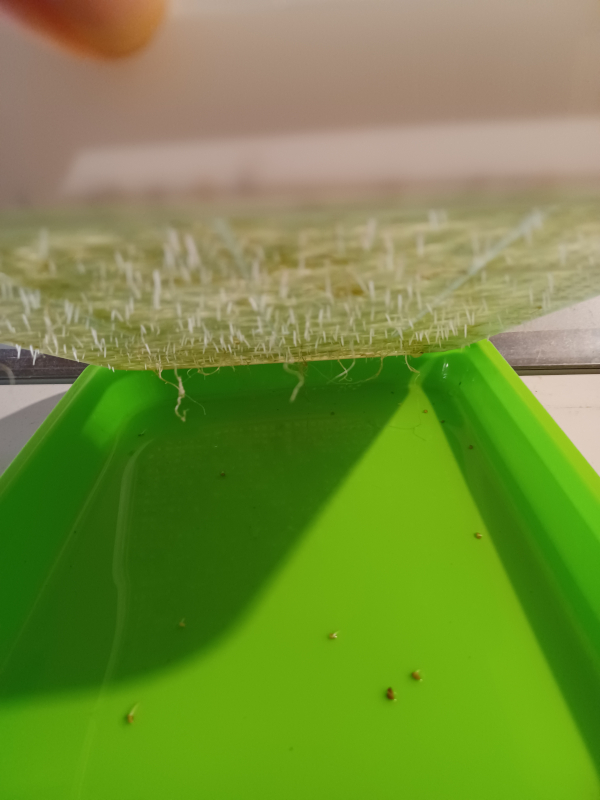
By day two, as seen above, you can see roots already starting to grow through the cheesecloth.
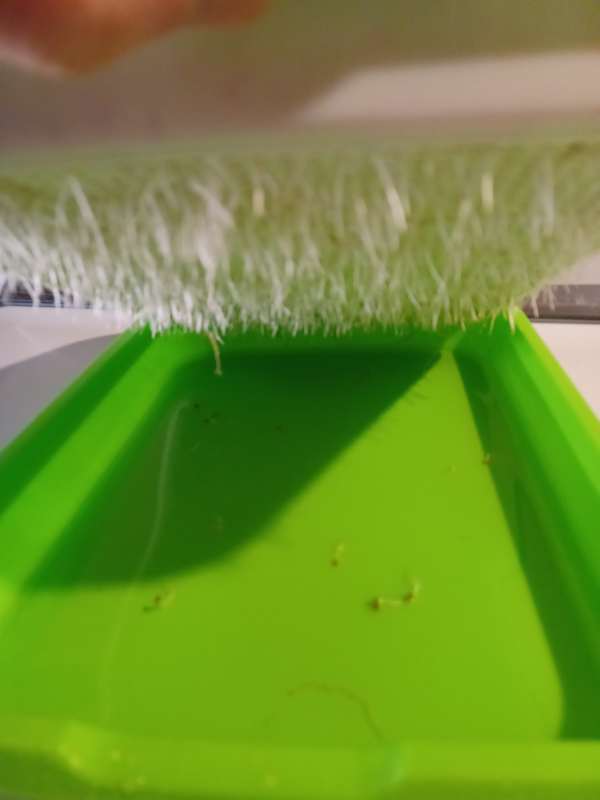
Once the roots are long enough that you can fill the bottom tray with water and the roots touch, then you can add water to the bottom tray. At this point only water the plants from the bottom. I would still recommend another day or two before removing the top cover and placing the tray in light.
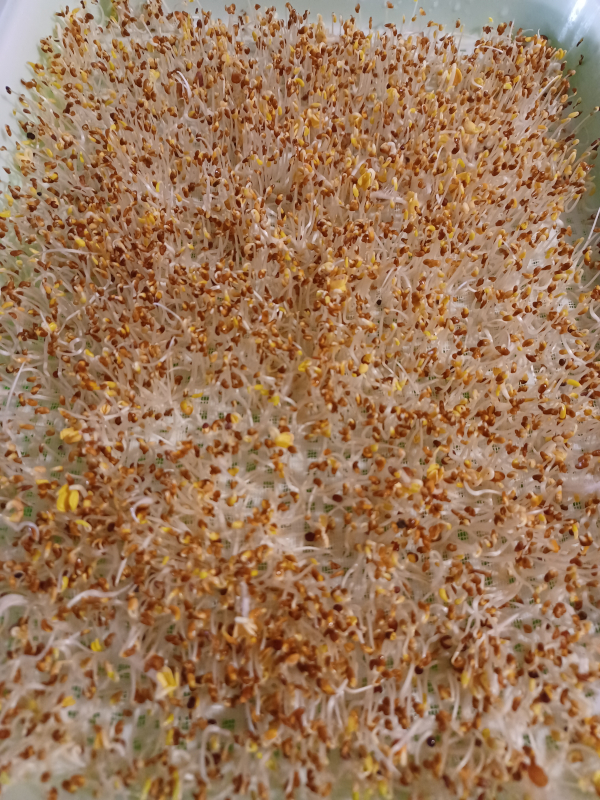
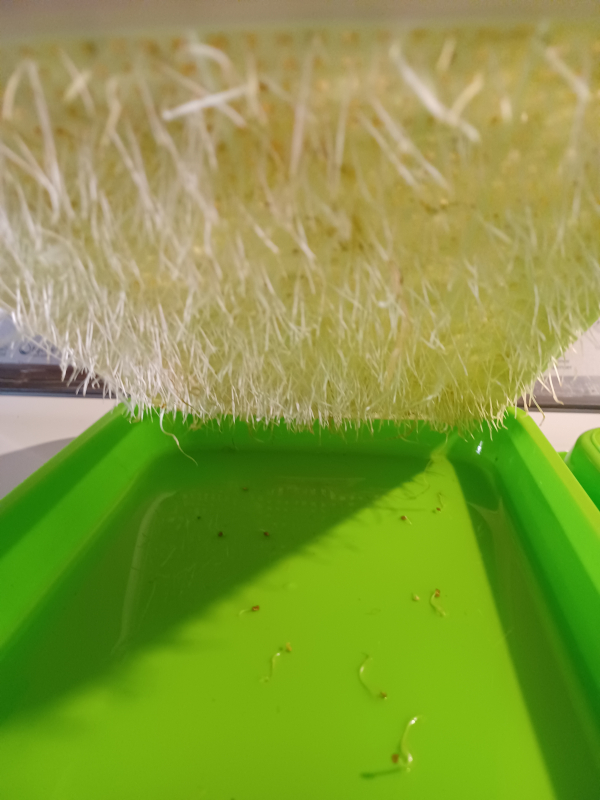
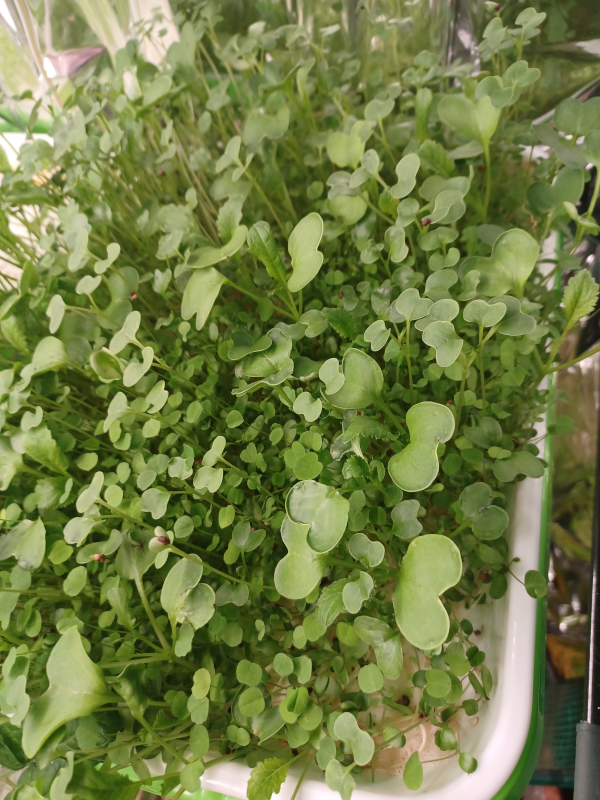
As you can see above, by day 4 or 5 the cotyledons are sprouting. These are the food for the plant while it initially grows from the seed. The roots are already getting long and can almost touch the bottom of the tray. At this point you can remove the top tray or lid and place the micro-greens in sunlight. It is important to keep the plants in the light but not so close to the windows during the winter that the cold slows the growing.
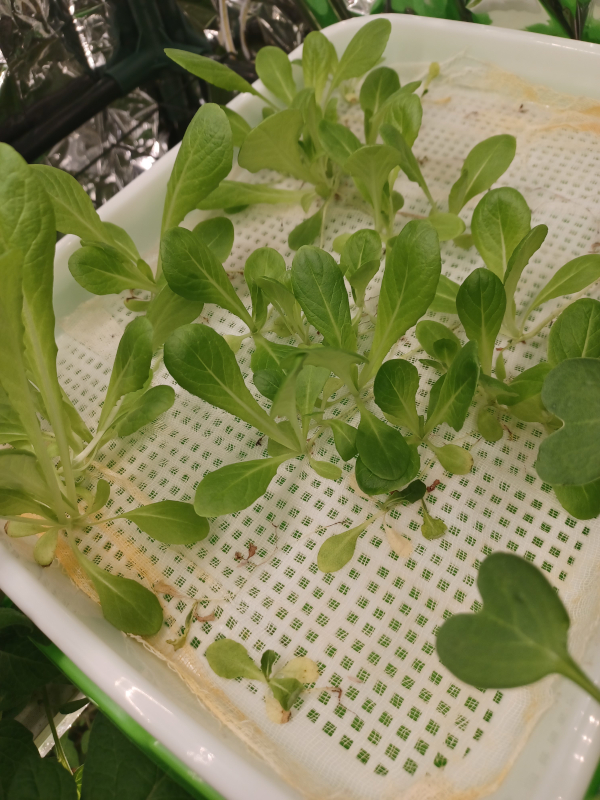
Within the next week your plants should grow to be about the size above. At this point you can start to harvest them. I do not harvest them all together but leave them in the tray to grow. When you make a sandwich or salad you can just pull the entire plant out of the cheesecloth/tray and then use kitchen scissors to cut them up. Try putting them in other foods as well or try growing other types of seeds. I am currently experimenting with growing romaine lettuce with a micro-green tray. I will create another post with my progress.